Space Jahannam WIP 2: More mods and details
Weapon Mods
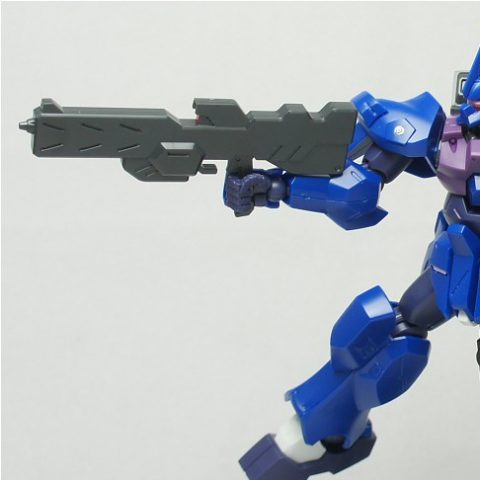
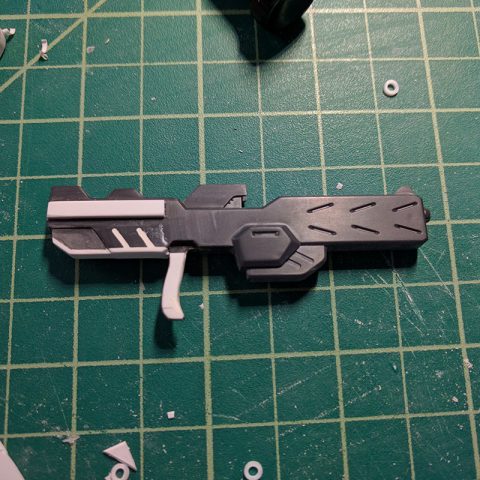
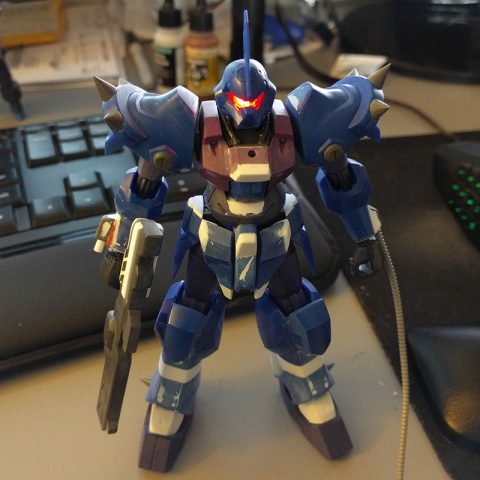
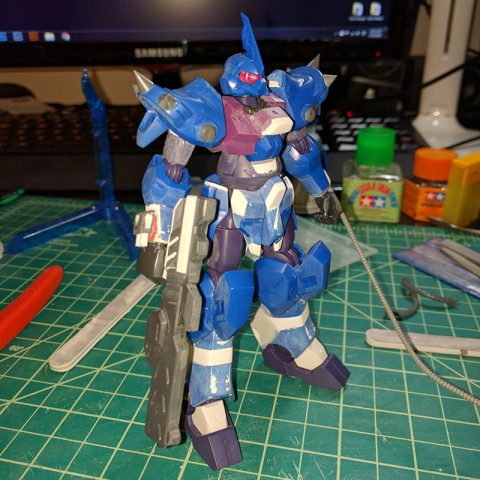
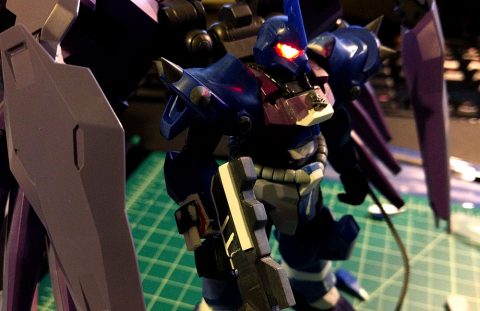
I did not like the beam rifle the kit comes with. It just looks to weird in hand without a trigger finger hand and it does not sit on arm too well. Ended up chopping the back end of the rifle and reshaping the handle with styrene and putty.
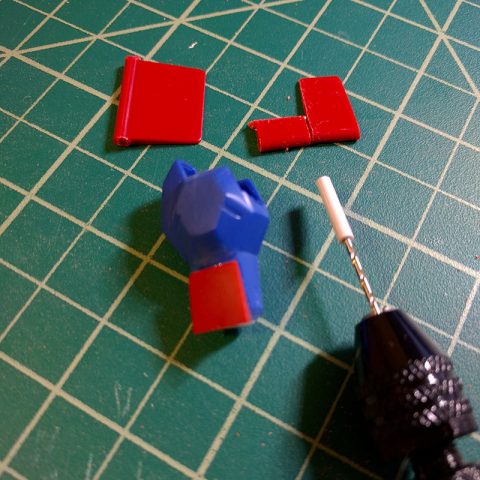
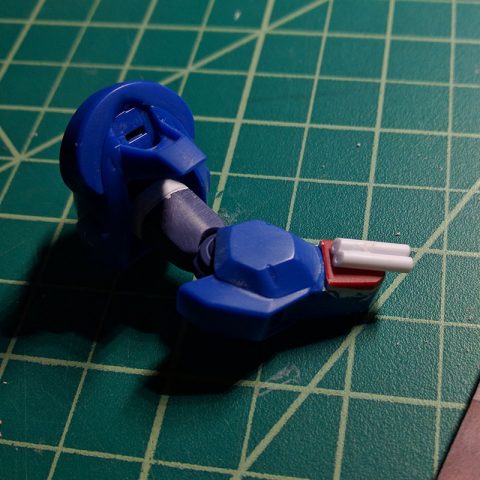
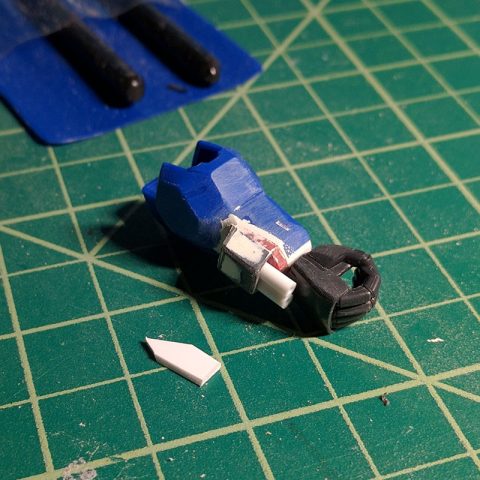
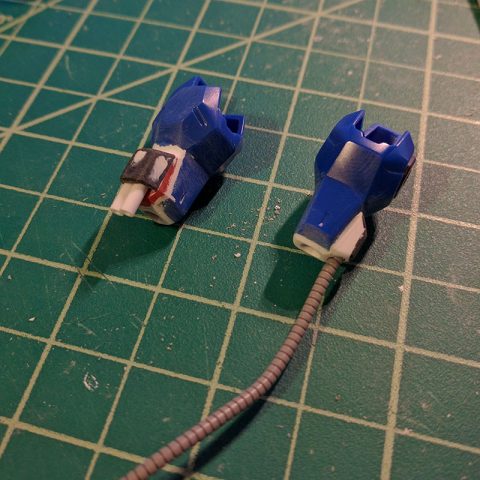
The wrists looked too skinny to me compared with the rest of the arm so I added a wrist gun and grappling cable to them.
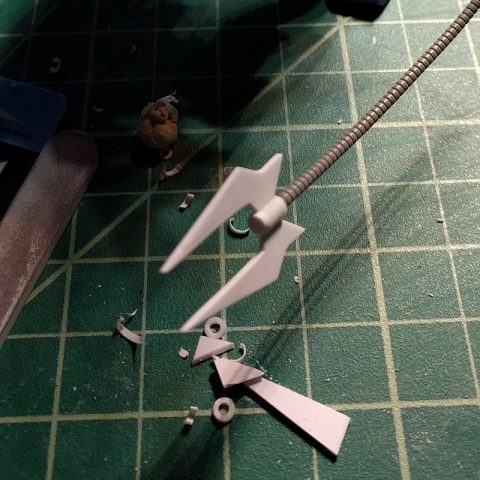
Started off the wrist gun by cutting a piece of runner that tapers to make the wrist area flat. I initially tried drilling into another piece of runner to make the gun barrels but couldn’t get the hole centered so i ended up buying styrene tubing. Used a piece of sticky tack to hold the tubs in place while I measured and cut the enclosure. Added putty to fill in the gaps and sanded everything smooth. The wrist mod for the grappling hook is a lot simpler. Used styrene and putty to create enclosure and drilled a hole for the cable. I used the cable from the Builder Parts pipe set. To create the grappling hook, just cut out a few pieces of styrene and cemented them to a tube that fit the table.
More Body Mods
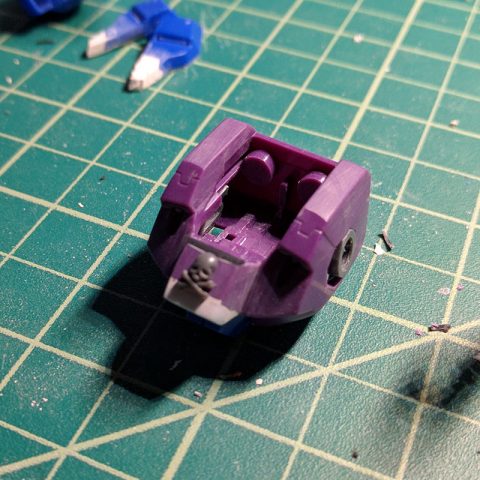
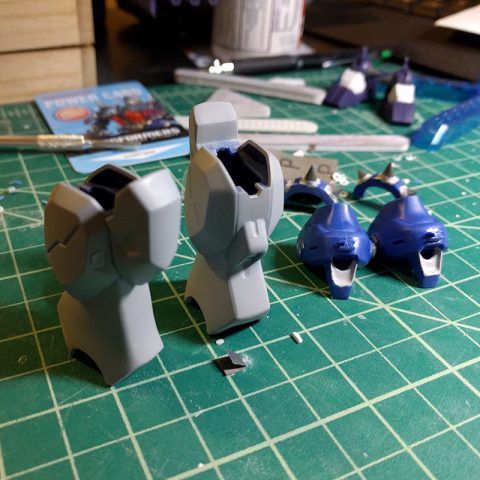
Added a more styrene to chest to that it sticks out a bit more. Next I wanted to add a skull to it but I also wanted to be able to paint it separately. Glued a small piece of runner to the back of the skull and drilled a hole into the chest to hold it.
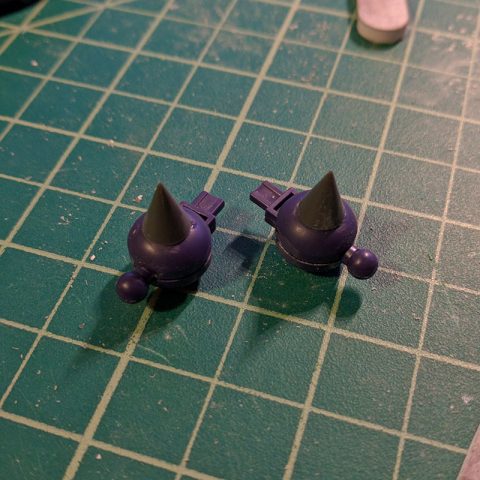
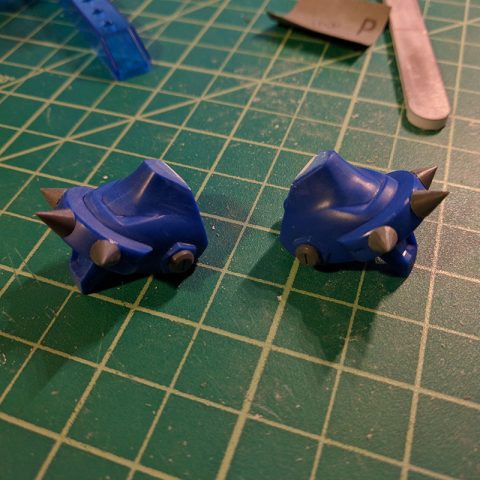
Glued of some Kotobukiya’s spikes to the shoulders and ankle joints. The empty gap in the ankle looked plain to me.
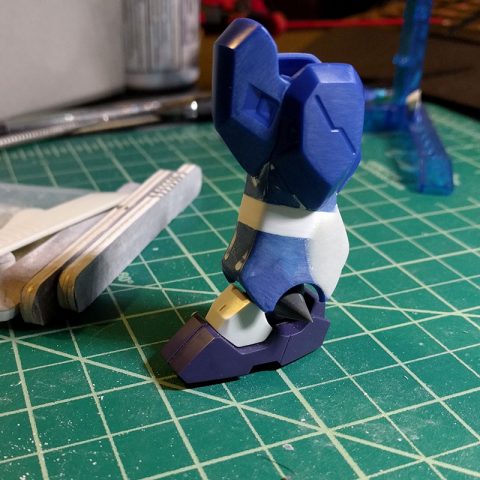
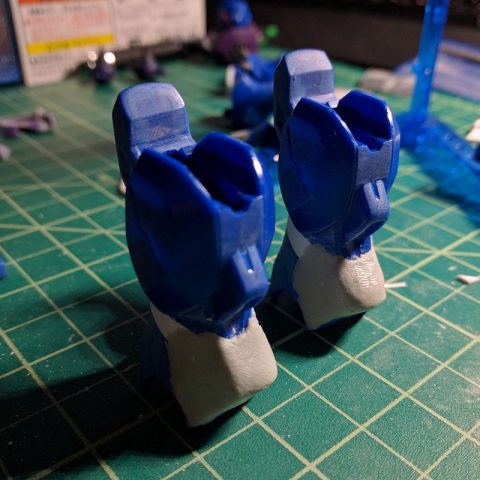
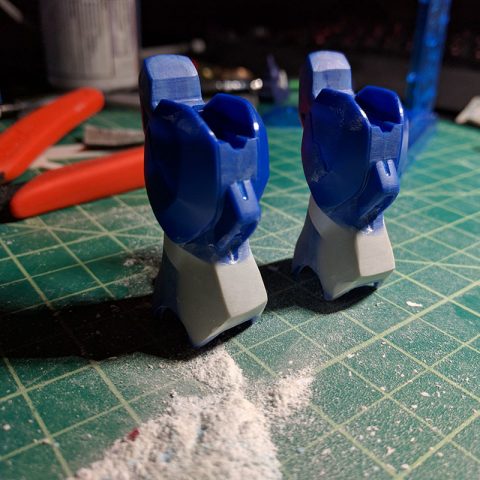
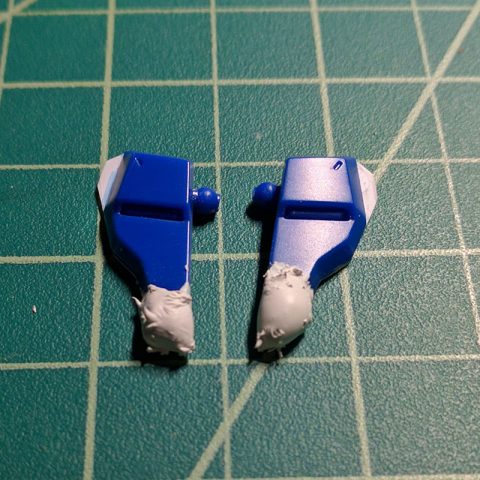
Since the leg extensions left an ugly step in the back of the leg, I needed something to fill it in. Angel @ ThoseGundamGuys suggested using Magic Sculpt and it worked really well. I would suggest getting the Magic Sculpt as close to what you want it to be. Otherwise, you are going to be spending a lot of time sanding like I did. All that dust….
Added styrene to the middle and back sections to have more room for the Builder Parts pipe.
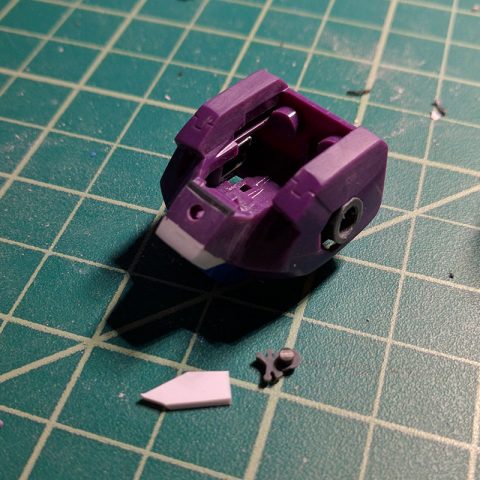
The skirt armor went through a lot of variations. Added some styrene to the top of the of the side skirts to give the pipes a bit of curve at the waist. I wanted the front skirt armor to be longer and to be a bit wider at the top. Tried using putty to fill in the bottom section. VERY BAD IDEA. Ended up warping the underside of the skirt armor. Luckily I was able to fix it after about 6 more passes of putty. Used a thick piece of styrene to beef up the top of the armor.
The final look of the skirt armor.
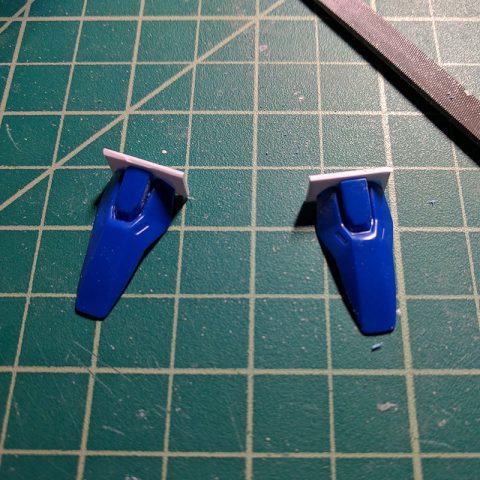
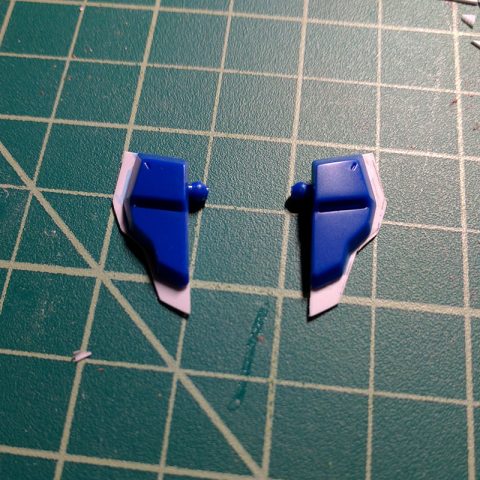
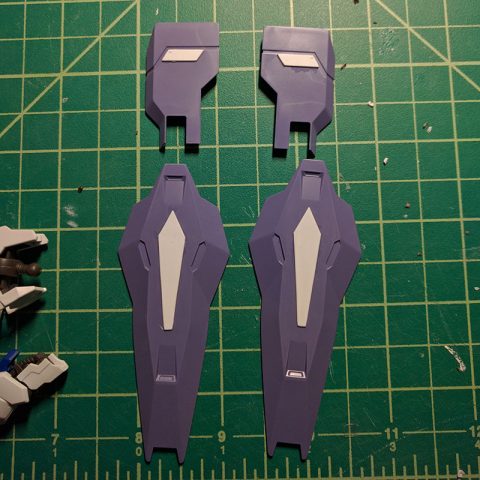
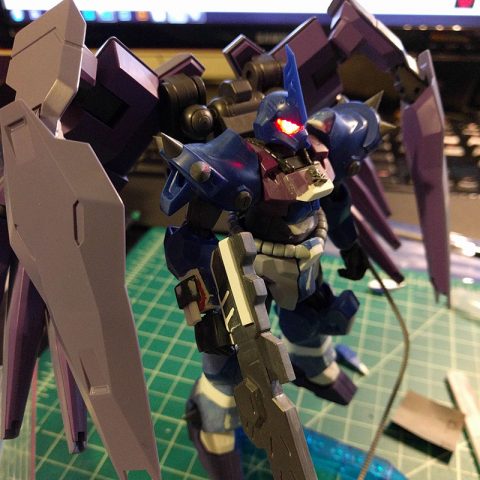
Just a few pieces of styrene to give an extra layer to the armor on the backpack.
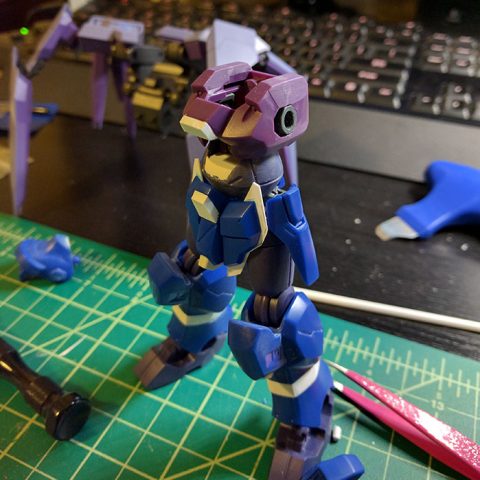
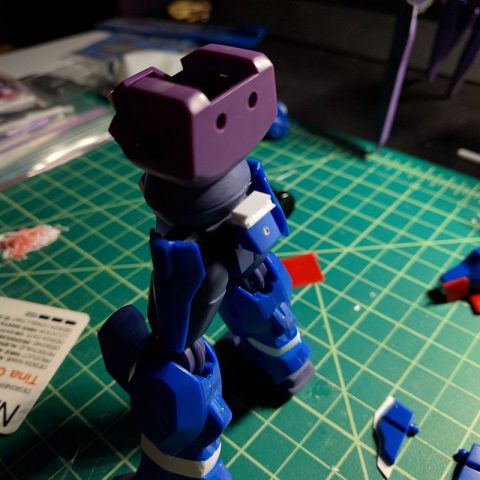
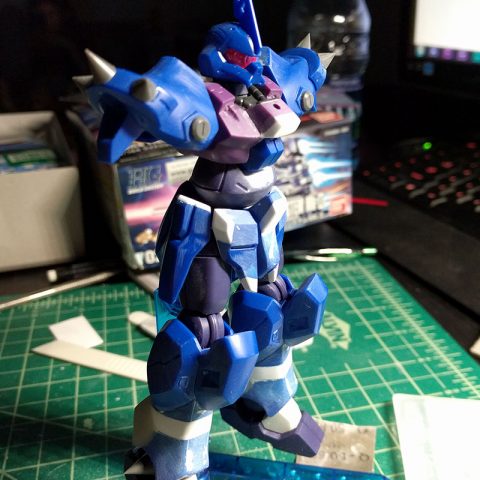
Forgot to get a shot of everything put together before taking it apart to start priming it. Ignore the purple skirt armor in the pic below. Used that for a bit after thinking I ruined the original skirt armor.
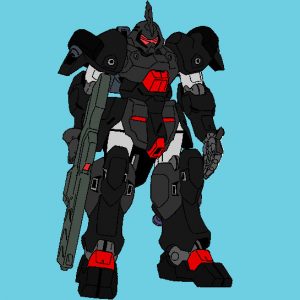
Next step is going to be priming the kit to check for any imperfections and then finally painting the kit. To be honest, I worked on this kit longer than I intended to so I’m glad its almost done. I’m going for a dark paint job for this.
Source: Freddy Was Wrong


